
Skins Project - attaching Clip-Fix tails
I just bought a pair of Ascention 110 skins from Steep and Cheap. They were the flat tail model but for $65 it was a great deal. Originally, I was planning on using Lou Dawson's rat tail because it seemed to work really well and because the bungie set-up was a lot cheaper than spending $25+ for the BD Clip Fix kit. I ended up finding a Clip Fix kit at REI the other night on sale for $11(!) which is what the bungies were going to end up costing anyway so I went for it.
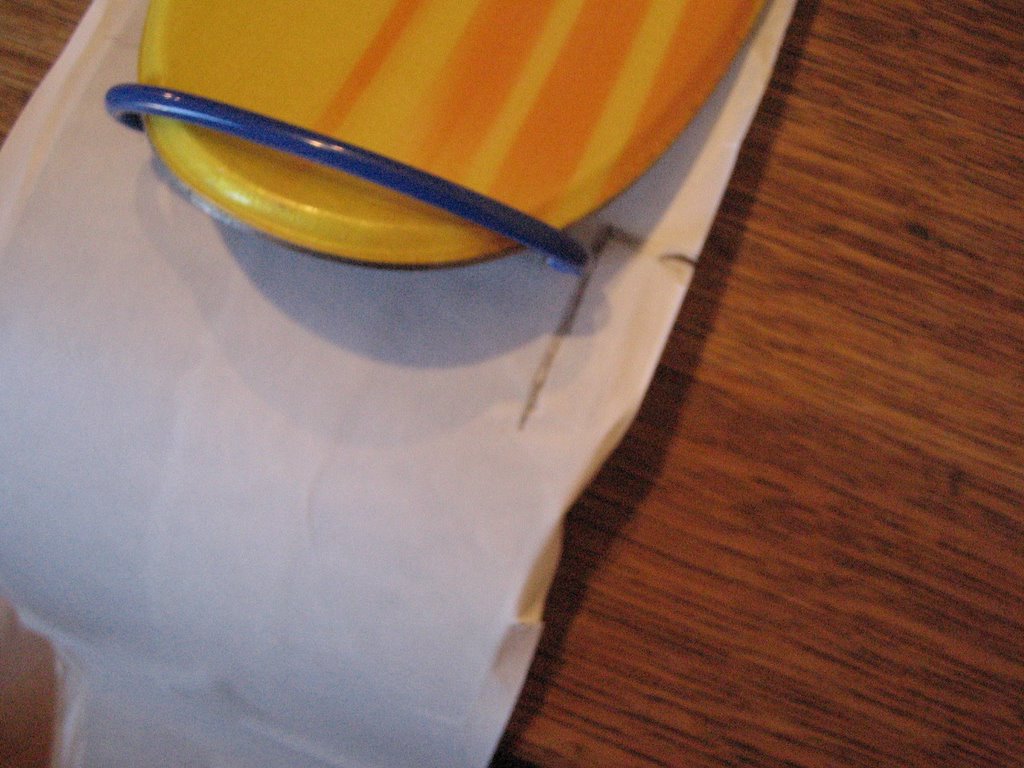
When I got home, I realized that the skins had sewn on tip loops, which meant if I cut the tails to length and riveted on the Clip Fixes, there would be no room for adjustment. Luckily I was putting the skins on Andrea's skis (165s) which meant there was plenty of extra skin as you can see from the picture below.

The solution then was to cut off the end with the sewn tip loop, do a fold-over to attach the tip loop and rivet the Clip-Fix to the end of the skins. It took some measuring but the whole project was actually fairly simple.
The first step was to rivet the Clip Fix attachments to the tails of the skins - it is important to get the Clip Fix exactly centered so with 110 mm skins I just measured 55 mm from the end and marked the center line.

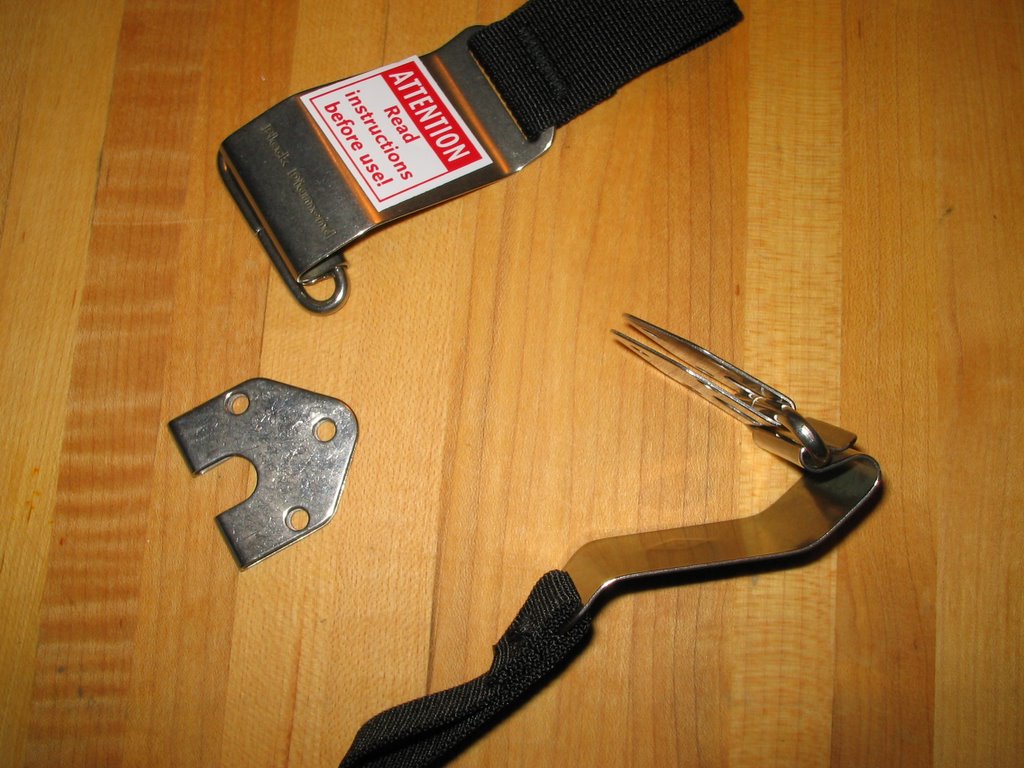
This is what the Clip Fix kit looks like, there are two parts for each ski - then some rivets which ideally you should attach with a rivet tool but it worked fine using a hammer and a cutting board.
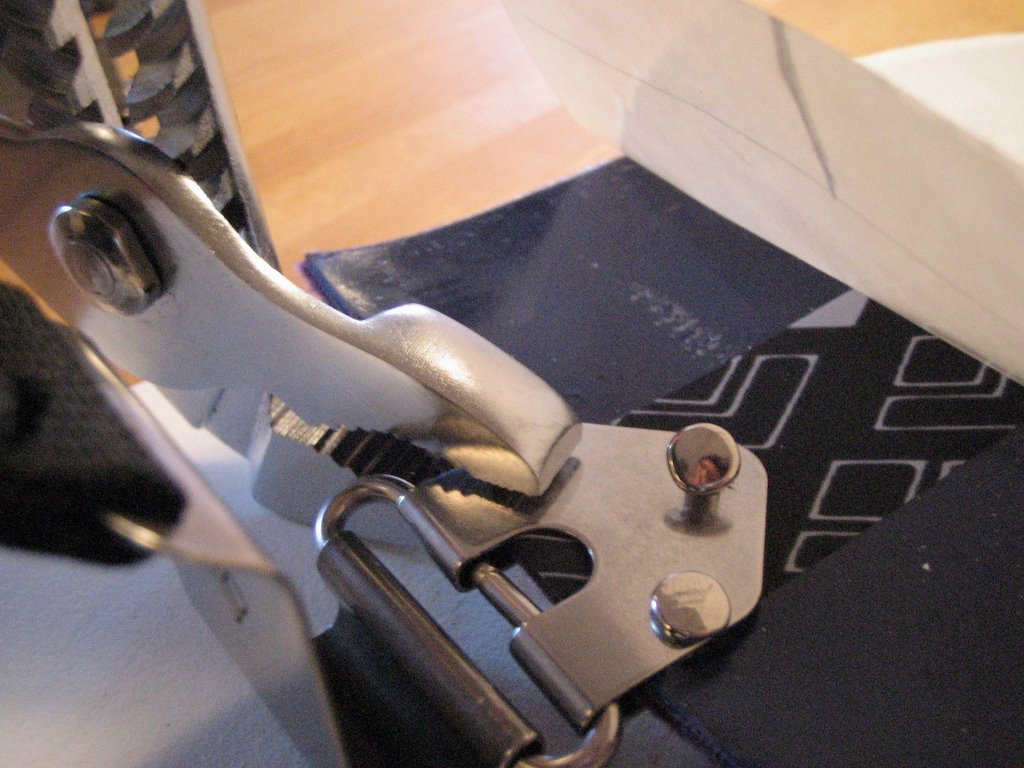
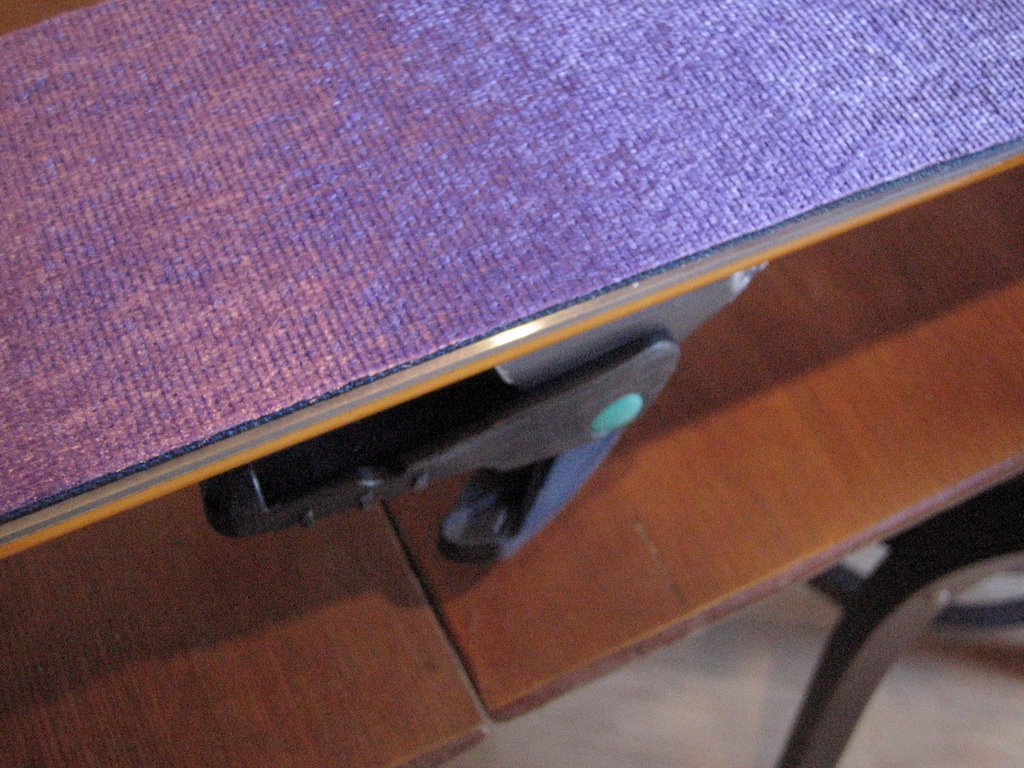
 This is how the properly centered Clip Fix looks on the tail.

After centering the spot where the Clip Fix will attach - the hardest part of the project is putting the holes in the skin to get the rivets through. Admittedly this may be easier if you have a rivet tool but I am of the opinion that if a job is worth doing, you can figure out an alternative tool to do it. In this case, I ended up drilling through the fabric with a pairing knife which actually worked really well and made nice little holes that I then put the male end of the rivet through just to make sure it was big enough.
After I was sure the holes were big enough, I fit the Clip Fix over the skin (MAKE SURE YOU ARE PUTTING IT ON SO IT CLIPS TOWARD THE GLUE SIDE!) and fit the rivets half-way with a pliers.

After pressing them halfway with the pliers, I hammered the rivets the rest of the way just to fix them completely. It was not the most beautiful looking thing but the job was done.
 With the Clip Fix riveted to each skin, it was time to cut the skins. The first step was to attach the skins to the end of the skis. The new Salomon Scramblers have a nice half swallow tail that seats the clip in the center of the ski really well. If you are dealing with straight backed or twin tip skis, you are going to want to make sure the clip is as centered as you can possibly make it.

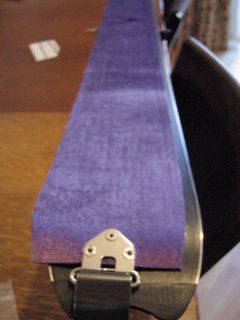
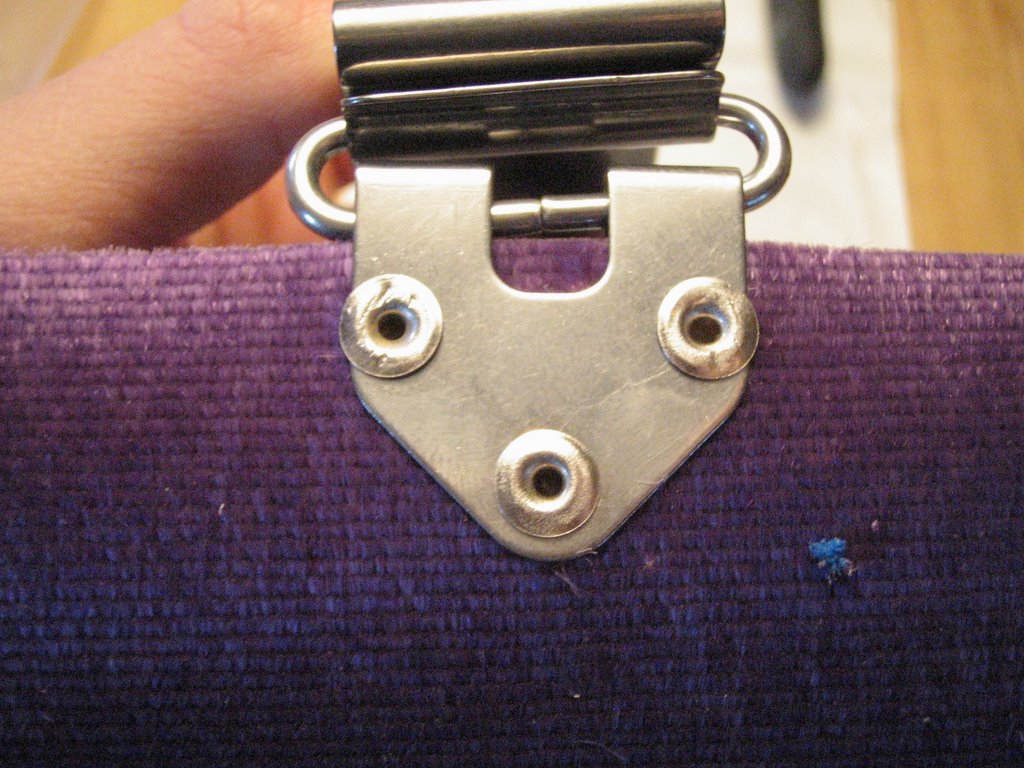
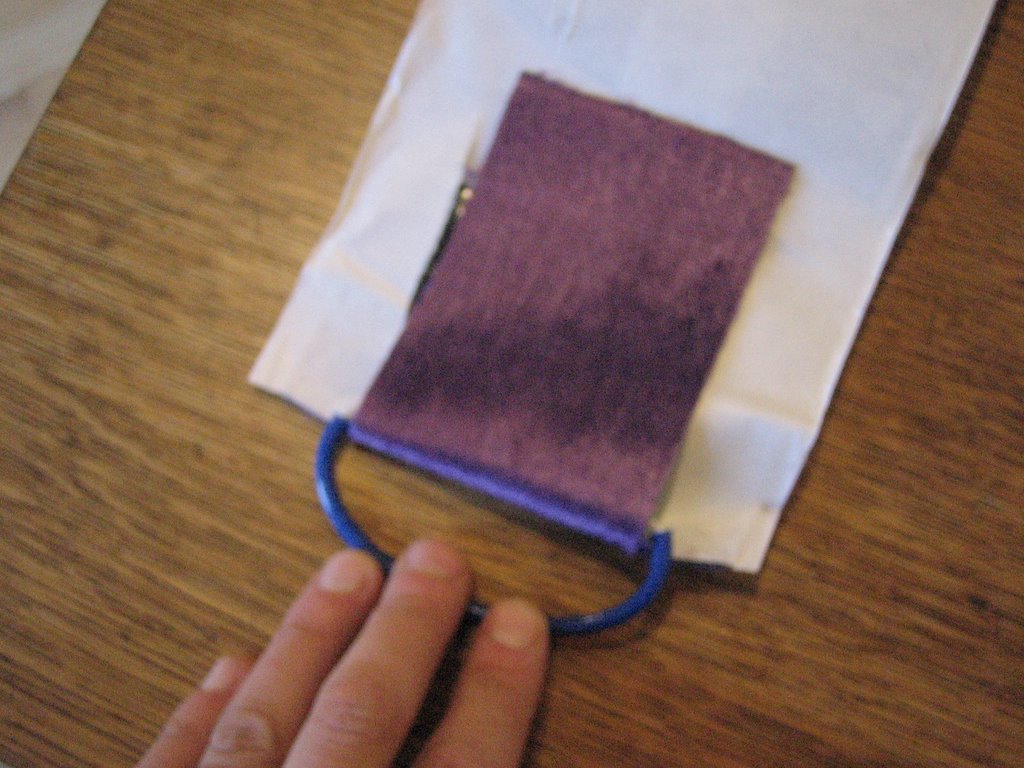
As you can see from the picture below, there was plenty of skin left for making the fold down for the tip loop. I fit the tip loop that came with the Clip Fix kit on the ski and cut the other sewn tip loop off.

Next, I measured 2 cm in on each side of the skin and drew a straight line 9 cm up from where the tip loop contacted the ski. This will eventually be the flap that folds over the hold the tip loop. It is nice to be working with new skins with the paper backing still on them; always leave the paper backing on if you can when cutting skins.

Here is what the flap should look like when you have cut it; next cut the sides off and you can fold it over to secure the tip loop.

After you have peeled the backing off the flap and secured the tip loop, clip the Clip Fix to the tail (leaving the paper backing on the rest of the skin) and check it for tightness. It should not be very difficult to flip the Clip Fix over but it should not be so loose that it will come undone easily. If it is not tight enough, simply make your flap a little longer and lower the tip loop slightly. Do this in as small of increments as possible to get it just right without going over.

Now you can trim the skins - hopefully if you have new skins they came with a trim tool - if not, Black Diamond makes an excellent one that looks like this:

Now is the time to take the paper backing off the skins and remount them a centered as possible on the ski.
Now make a cut down either side with the trim tool, following the edge or sidewall of the ski. Go from one end to the other in one smooth stroke applying constant even pressure to the blade. This sounds harder than it actually is. At this point, the skins should be exactly cut to your bases - affectionately known as "wall-to-wall carpeting." The problem is that your edges are covered by skin which is going to make things exciting if you are side-hilling at any kind of angle.
So next, pull the skins off the base (leaving the tip loop attached) and re-lay them on the skis just off center (1 or 2 cm) so that part of the skin hangs over one side.
Cut this side again so that about 1-2 cm is cut off near the section under the binding. This will expose the most crucial part of the edge for side-hilling. Re-attach the skin on the ski and you should have a nice edge area showing.

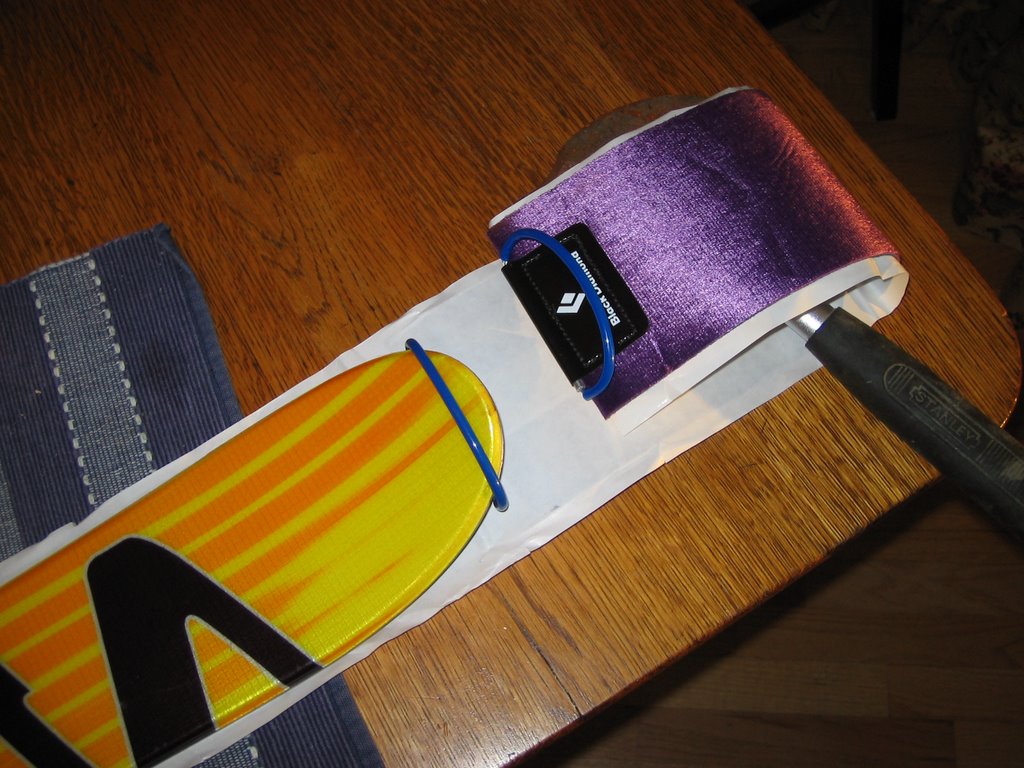
If your skins came with Cheat Sheets, use them - the keep the skins clean and the glue tacky. If you have one long Cheat Sheet, take the skin off the ski, fold the tail to the nose so it is half-long and lay the end of the Cheat Sheet from the fold to the tip and cut it there. Now you have an exactly measured Cheat Sheet for a folded over skin. Use the remainder and do it again.

The folded over skin with Cheat Sheet:

At this point, bag them up and head for the hills!
When I got home, I realized that the skins had sewn on tip loops, which meant if I cut the tails to length and riveted on the Clip Fixes, there would be no room for adjustment. Luckily I was putting the skins on Andrea's skis (165s) which meant there was plenty of extra skin as you can see from the picture below.

The solution then was to cut off the end with the sewn tip loop, do a fold-over to attach the tip loop and rivet the Clip-Fix to the end of the skins. It took some measuring but the whole project was actually fairly simple.
The first step was to rivet the Clip Fix attachments to the tails of the skins - it is important to get the Clip Fix exactly centered so with 110 mm skins I just measured 55 mm from the end and marked the center line.
This is what the Clip Fix kit looks like, there are two parts for each ski - then some rivets which ideally you should attach with a rivet tool but it worked fine using a hammer and a cutting board.
 This is how the properly centered Clip Fix looks on the tail.
After centering the spot where the Clip Fix will attach - the hardest part of the project is putting the holes in the skin to get the rivets through. Admittedly this may be easier if you have a rivet tool but I am of the opinion that if a job is worth doing, you can figure out an alternative tool to do it. In this case, I ended up drilling through the fabric with a pairing knife which actually worked really well and made nice little holes that I then put the male end of the rivet through just to make sure it was big enough.

After I was sure the holes were big enough, I fit the Clip Fix over the skin (MAKE SURE YOU ARE PUTTING IT ON SO IT CLIPS TOWARD THE GLUE SIDE!) and fit the rivets half-way with a pliers.
After pressing them halfway with the pliers, I hammered the rivets the rest of the way just to fix them completely. It was not the most beautiful looking thing but the job was done.
 With the Clip Fix riveted to each skin, it was time to cut the skins. The first step was to attach the skins to the end of the skis. The new Salomon Scramblers have a nice half swallow tail that seats the clip in the center of the ski really well. If you are dealing with straight backed or twin tip skis, you are going to want to make sure the clip is as centered as you can possibly make it.
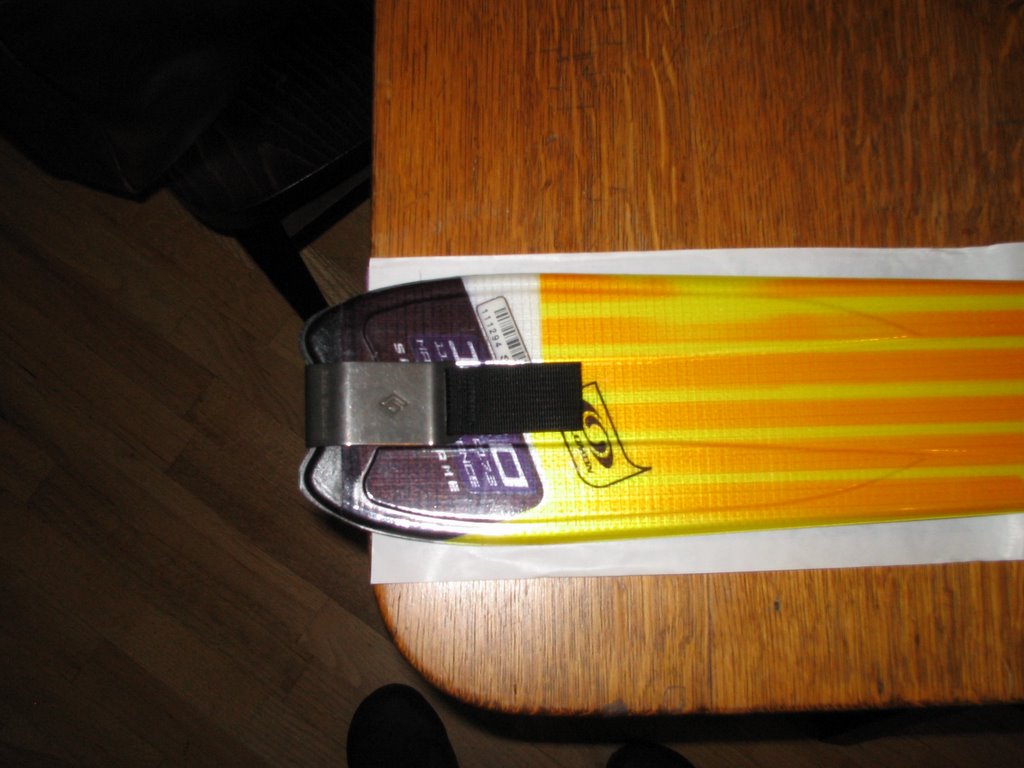
As you can see from the picture below, there was plenty of skin left for making the fold down for the tip loop. I fit the tip loop that came with the Clip Fix kit on the ski and cut the other sewn tip loop off.
Next, I measured 2 cm in on each side of the skin and drew a straight line 9 cm up from where the tip loop contacted the ski. This will eventually be the flap that folds over the hold the tip loop. It is nice to be working with new skins with the paper backing still on them; always leave the paper backing on if you can when cutting skins.
Here is what the flap should look like when you have cut it; next cut the sides off and you can fold it over to secure the tip loop.

After you have peeled the backing off the flap and secured the tip loop, clip the Clip Fix to the tail (leaving the paper backing on the rest of the skin) and check it for tightness. It should not be very difficult to flip the Clip Fix over but it should not be so loose that it will come undone easily. If it is not tight enough, simply make your flap a little longer and lower the tip loop slightly. Do this in as small of increments as possible to get it just right without going over.
Now you can trim the skins - hopefully if you have new skins they came with a trim tool - if not, Black Diamond makes an excellent one that looks like this:

Now is the time to take the paper backing off the skins and remount them a centered as possible on the ski.
Now make a cut down either side with the trim tool, following the edge or sidewall of the ski. Go from one end to the other in one smooth stroke applying constant even pressure to the blade. This sounds harder than it actually is. At this point, the skins should be exactly cut to your bases - affectionately known as "wall-to-wall carpeting." The problem is that your edges are covered by skin which is going to make things exciting if you are side-hilling at any kind of angle.
So next, pull the skins off the base (leaving the tip loop attached) and re-lay them on the skis just off center (1 or 2 cm) so that part of the skin hangs over one side.

Cut this side again so that about 1-2 cm is cut off near the section under the binding. This will expose the most crucial part of the edge for side-hilling. Re-attach the skin on the ski and you should have a nice edge area showing.
If your skins came with Cheat Sheets, use them - the keep the skins clean and the glue tacky. If you have one long Cheat Sheet, take the skin off the ski, fold the tail to the nose so it is half-long and lay the end of the Cheat Sheet from the fold to the tip and cut it there. Now you have an exactly measured Cheat Sheet for a folded over skin. Use the remainder and do it again.
The folded over skin with Cheat Sheet:

At this point, bag them up and head for the hills!
posted by Aaron Ostrovsky at 4:31 PM
![]()


0 Comments:
Post a Comment
<< Home